
If you’re a fan of quirky gardening tips or just looking for something sweet to grow this season, you’re in for a treat. One of the most incredible gardening secrets of all time is how to grow your Marshmallow Plant. No, this isn’t some elaborate prank or a sticky situation; it’s 100% true.
I know what you’re thinking—marshmallows come from a bag at the grocery store, not from a garden! It’s really sad that so many people don’t understand where their food comes from or the trouble it takes to grow. After reading this guide, you’ll be on your way to harvesting your very own batch of fluffy, sugary goodness straight from the soil. No factory required! HHH and I love fresh Marshmallows right from the garden. There’s nothing quite like it.
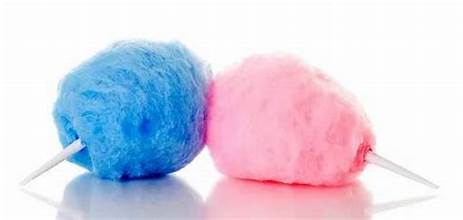
First things first, let’s talk soil. Marshmallow plants thrive in sugar-rich soil, so make sure your garden is well-stocked with the sweetest compost around. A 2:1 blend of powdered sugar and cotton candy with 2 T. of honey will work wonders. This should be carefully mixed into the soil to reach a homogeneous mix. If you can’t find those ingredients, regular garden soil will do—but it might take a few extra years for your marshmallows to reach peak fluffiness.
Once you’ve prepared the soil, you’re ready for the fun part: planting! Marshmallow plants are incredibly sensitive to climate, so it’s crucial that you plant them on April 1st. If you wait any longer, they’ll wither. Plant directly into the ground. Marshmallow plants don’t transplant due to their long tap root.
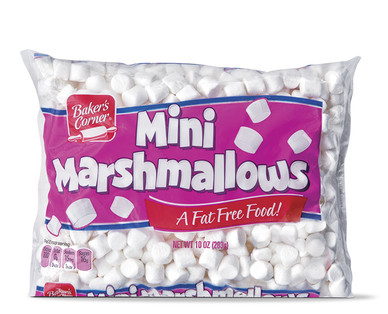
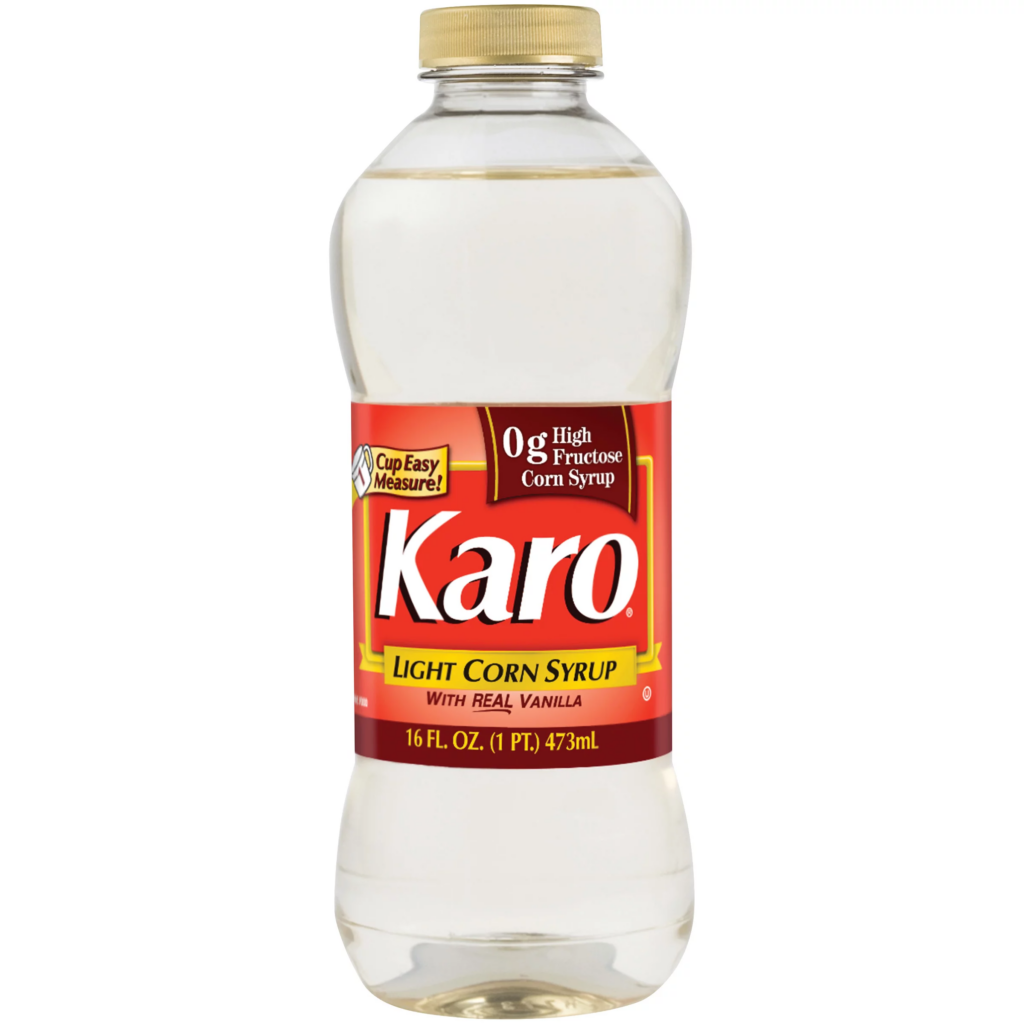
Once you’ve located the perfect spot in your garden, dig a small hole (about 2 inches deep) and drop a miniature marshmallow in each hole. Cover them with a light dusting of powdered sugar (not too much, or fruit might get too sweet), and water them with a 2:1 solution of Light Karo-Syrup and water. Not too much—just a gentle spray when dry.
Now, the real magic happens! Marshmallow plants require constant attention to ensure they grow properly. They love being sung to, so start every morning by humming a light, airy tune like “Sugar, Sugar” by the Archies. If you don’t sing, the plants young sprouts won’t thrive.
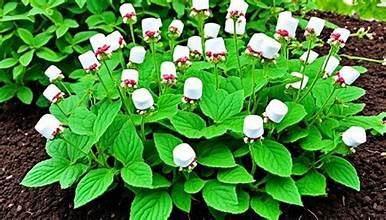
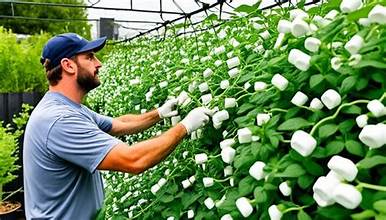
After about 6-8 weeks, your marshmallows will be ready to harvest. You’ll know they’re ripe when they start to turn that perfect shade of white, and a sweet scent fills the air.
To harvest, simply pluck the marshmallows GENTLY from the plant. Due to their delicate nature, it’s important to wear white cotton gloves when harvesting. If you pull too hard, you could end up with a sticky mess—your marshmallows might collapse into an unsalvageable blob. “Gentle plucking technique” is necessary for the optimal marshmallow retrieval.
Finally, the best part: enjoying your homegrown marshmallows! After curing them in a dark room at 72.5 degrees for exactly 27 hours and 3 minutes, they will be ready. Store in Zip-Lock bags for maximum freshness. Roast them over a campfire for a perfect snack, or use them to make a batch of homemade s’mores. You could even toss them into hot cocoa for a fluffy kick.
Whatever you do, don’t forget to share the love with your neighbors! They’ll be so amazed at your garden that they’ll probably try to plant marshmallow trees of their own. Just be sure to remind them that this is a very special kind of plant, and it requires a good sense of humor and a healthy dose of whimsy.
P.S. Before running to the store for miniature marshmallows, you might want to check your calendar first. 😉
Happy April Fools’ Day!
More tomorrow.